Setting up MFA
To set up MFA for the first time you will need access to a computer and have your mobile device on hand. The following guides will step you through the process.
To set up MFA for the first time you will need access to a computer and have your mobile device on hand. The following guides will step you through the process.
There are 5 authentication methods for MFA
IT&S recommends using the Microsoft Authenticator app installed on your mobile device as your default method, however it is also recommended to add your office or home number as well as your cell phone number as back-up methods.
After you have been notified that MFA has been assigned to your account, go to https://aka.ms/MFASetup to set it up immediately, or wait until you log into MyMount or the Intranet via www.msvu.ca, and are prompted to setup MFA. The initial setup only offers a SMS text message or a phone call as options. After that initial setup, you can then choose to add the Authenticator App.
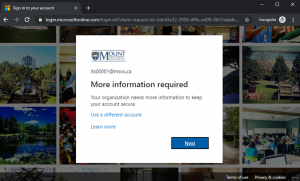
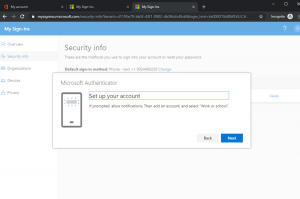
A popup will inform you that more information is needed needed for your account, click Next.
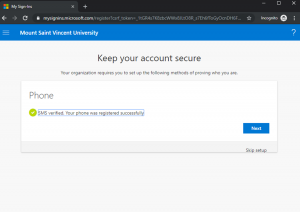
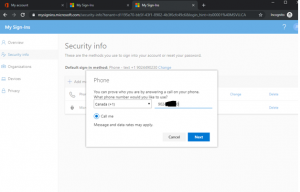
Choose your second factor method, for initial setup your options are only a SMS message or a phone call;
Change the location to Canada (1) and put in your phone number with just numbers, like 9025551212.
To set up another method such as the mobile app, or change your existing settings, go to https://aka.ms/MFASetup again.
Note: These instructions are written specifically for a user with a desktop/laptop and a phone (cell phone preferred) as the second factor. There are other combinations that may work too. You should have your phone nearby when doing the setup.
After you have been notified that MFA has been assigned to your account, go to https://aka.ms/MFASetup to set it up immediately, or wait until you log into Login to MyMount via www.msvu.ca, and are prompted to setup MFA. The initial setup only offers a SMS text message or a phone call as options. After that initial setup, you can then choose to add the Authenticator App.
Login to MyMount from the www.msvu.ca, you will be informed that more information is needed for your account, click “Next”.
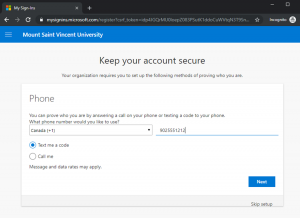
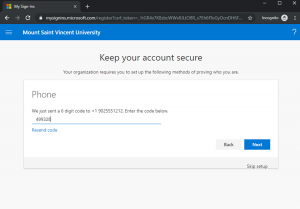
Choose your second factor method, for initial setup your options are only a SMS text message or a phone call.
Change the location to Canada (1) and put in your ten digit phone number with just the numbers, like 9025551212.
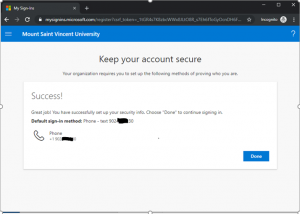
At this point your MFA is setup with one second factor (the first was you password), it is recommended to setup an additional second factor.
IT&S recommends that if you have a smart phone, to use the Microsoft Authenticator App. Microsoft Authenticator app is the easiest factor to use because you just have to press a button rather than type in a 6 digit code. If you do not have a smart phone, then continue to use text message or phone call authentication methods.
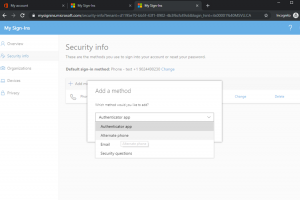
Log into myMount or Office 365, if your already logged in open a new tab and go to https://aka.ms/MFASetup
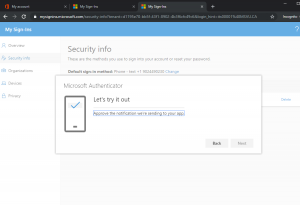
Click on + Add method choose Authenticator App.
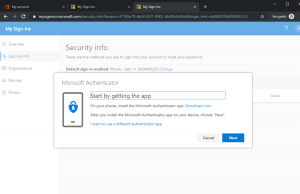
Install the app on your phone or tablet from the Google Play Store for Android devices, or from the Apple App Store.
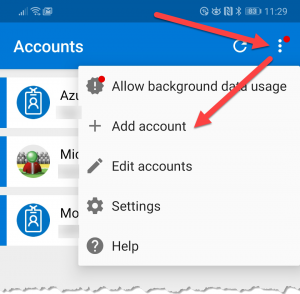
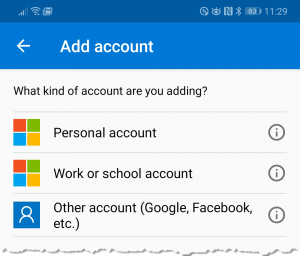
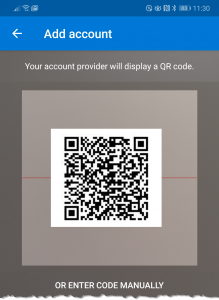
On your phone, open the Microsoft Authenticator app on your device. Click the menu icon in the top right, then click “+ Add account”.
6. Click Next and scan the QR code on the PC screen from the Authenticator App on your device
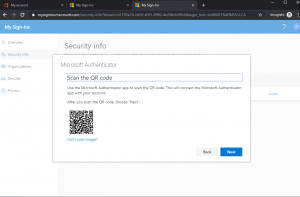
7. Point your camera at the unique QR code on your screen and the app will scan it.
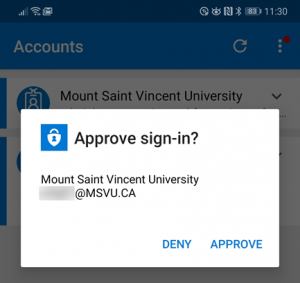
8. On your device, you should get a prompt similar to this, choose approve.
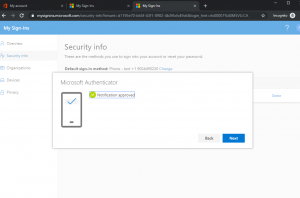
On the PC click on Next to finish the setup.
To add an additional phone to the one used in the first setup phase. Choose +Add method, select Alternate phone.
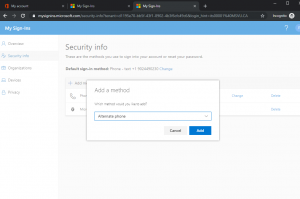
Put in your location code and ten digit phone number then click Next.
As an example, 9025551212
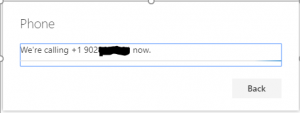
The system will call you at that number and ask you to press the # key on your phone for verification.
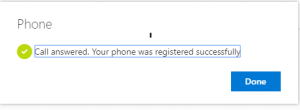
You can repeat this process to add additional phone numbers.
For iOS devices such as the Apple iPhone, the easiest way to get email is to use the Outlook app.
Some users prefer the iPhone mail app. If you are having difficulties getting your email and are not prompted for MFA, there seems to be a solution. Although there is little official support for this, from an Apple forum and a Microsoft forum, the following, which we tried on a couple of devices, seems to work with iOS 12 and later:
You should now be able to retrieve email from an Office 365 account with Multi-factor Authentication enforced using the Mail app.