How to Print on Campus
- Select the File – Print and the following will appear.
Note: Prices appearing for demonstration purposes may not be current. For the current printing costs click here.
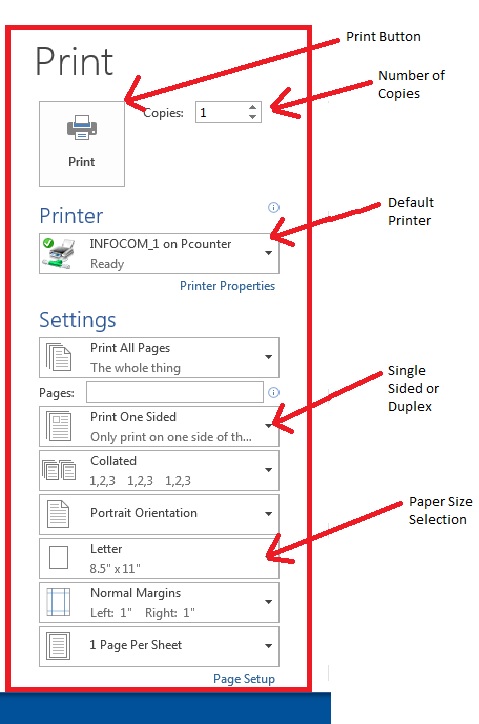
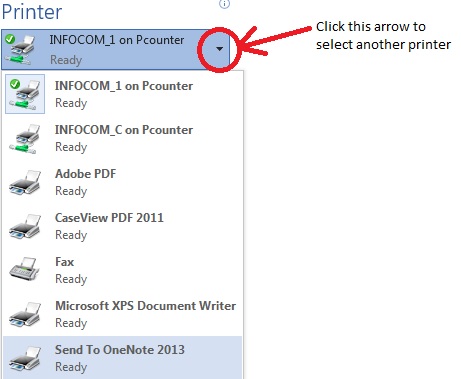
- The default printer will automatically be set to the monochrome printer located in the computer lab. If you wish to print in color, you may do so in the EMF Information Commons (select INFOCOM_C on Pcounter) or in Evaristus 136 (select EV136_C on Pcounter) from within the Printer dialogue box:
- When you have confirmed the print settings are correct, click the Print button. The following Print Job Billing dialogue box will appear:
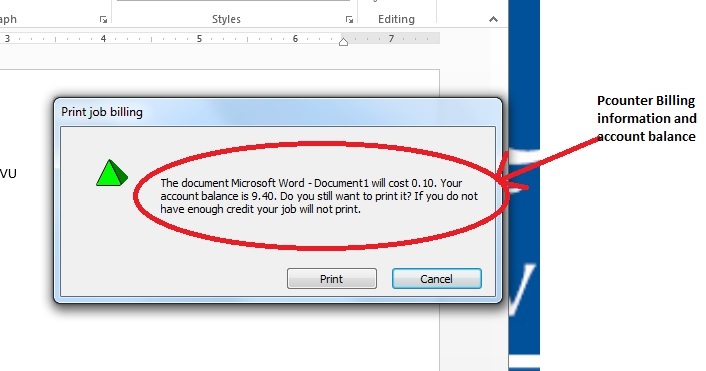
- If you have enough money on your print account, click Print. The job will print in the lab you are working in. You will not be able to print any portion of the job if there are insufficient funds in your user account to cover the cost of the total number of pages you wish to print.
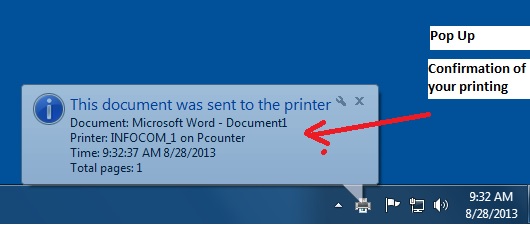
- After selecting Print, the following confirmation will appear indicating that your document has been successfully sent to the printer:
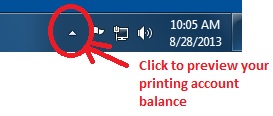
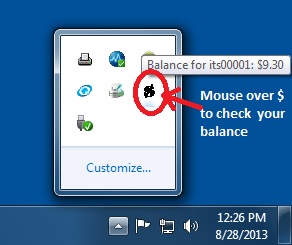
NOTE: To check your available print balance in Pcounter, click on the up arrow located in the task bar in the lower right hand of your screen. Hover your mouse over the ‘$” icon that appears to display your print balance.